The Truth About Embroidery Quality: What Separates Amateur Work from Professional Results

Not all embroidery is created equal.
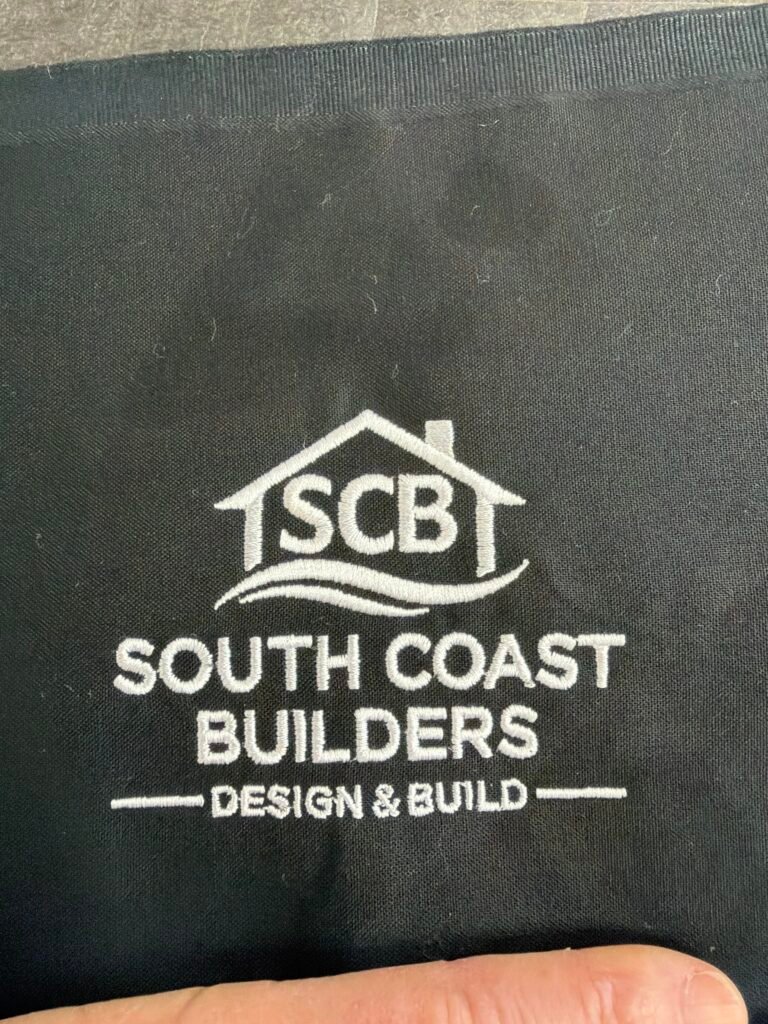
You’ve probably seen it yourself: some embroidered logos look crisp, professional, and perfectly executed. Others look messy, puckered, or just… off.
After 30+ years at Merlin Embroidery, I can spot the difference in seconds. But most customers don’t know what to look for until they’ve already paid for subpar work.
Today, I’m pulling back the curtain on what actually makes embroidery look professional versus amateur. By the end of this article, you’ll know exactly what questions to ask and what details to check before placing your order.
Because you deserve embroidery that makes you look good, not embarrassed.
The #1 Sign of Quality: Proper Digitizing
Here’s what most people don’t realize: the quality of your embroidery is determined before a single stitch is sewn.
It all comes down to digitizing—the process of converting your logo or design into a stitch file that the embroidery machine can read.
What Is Digitizing?
Digitizing is like creating a roadmap for the embroidery machine. A skilled digitizer decides:
- Which direction stitches should run
- How dense the stitching should be
- What type of stitches to use for different elements
- How to sequence the design for optimal results
- Where to add underlay (foundation stitches)
Think of it like this: Your logo is the destination. Digitizing is the GPS directions. Bad directions = you’ll never arrive looking good.
Amateur Digitizing Looks Like:
- Designs that pucker or pull the fabric
- Letters that are too dense and look blob-like
- Thin lines that disappear or look broken
- Uneven stitch density creating light and dark patches
- Registration issues where elements don’t line up
- Thread breaks and gaps in the design
Professional Digitizing Looks Like:
- Smooth, flat embroidery that doesn’t distort fabric
- Crisp letters with perfect readability
- Consistent stitch density throughout
- Clean lines and sharp details
- Perfect registration and alignment
- Minimal thread breaks and flawless execution
The problem? Many budget embroidery services use auto-digitizing software that creates terrible stitch files. It’s fast and cheap and it shows.
At Merlin Embroidery, every design is digitized by experienced professionals who understand how fabric, thread, and stitches interact. It takes longer and costs more upfront, but the results speak for themselves.
The Fabric Foundation: Proper Stabilization
Even perfectly digitized designs will look terrible without proper stabilization.
What Is Stabilizer?
Stabilizer (also called backing) is material placed behind the fabric during embroidery to prevent:
- Puckering and fabric distortion
- Stitches sinking into the fabric
- Designs pulling or shifting
- Fabric stretching out of shape
Different fabrics require different stabilizers. This is where experience matters enormously.
Common Stabilizer Mistakes:
Mistake #1: Using the wrong type of stabilizer
- Knit fabrics need cut-away stabilizer that stays permanently
- Woven fabrics can use tear-away stabilizer that’s removed after
- Stretchy performance fabrics need special mesh stabilizers
Mistake #2: Using too little stabilizer Result: Puckering, pulling, distorted designs
Mistake #3: Using too much stabilizer Result: Stiff, uncomfortable garments that don’t drape naturally
Mistake #4: Not using topping on textured fabrics Result: Stitches sink into fleece, terry cloth, or textured materials and disappear
Professional Stabilization:
At Merlin Embroidery, we stock 15+ different stabilizer types because one size does NOT fit all.
We choose stabilizer based on:
- Fabric type and weight
- Fabric stretch and texture
- Design size and stitch density
- Final garment use and care requirements
This attention to detail is invisible when done right—and glaringly obvious when done wrong.
Thread Quality: Why It Matters More Than You Think
Walk into any craft store and you’ll find embroidery thread for $2 a spool. Professional embroidery shops use thread that costs $8-12 per spool.
Why the difference? And does it really matter?
Yes. Absolutely yes.
Cheap Thread Problems:
- Inconsistent thickness creates uneven appearance
- Weak fibers break frequently during embroidery
- Colors fade quickly after washing
- Lint and fuzz create messy-looking designs
- Limited color selection means poor color matching
Professional Thread Benefits:
- Consistent diameter for uniform appearance
- High tensile strength = fewer breaks and smoother production
- Colorfast dyes that resist fading for years
- Low lint for clean, crisp results
- Extensive color libraries for perfect brand matching
We use premium polyester thread from trusted manufacturers because we stand behind our work. When you wash your embroidered polo 100 times, we want it to still look as good as day one.
Thread might seem like a small detail, but it’s the difference between embroidery that lasts years versus embroidery that looks worn out in months.
Stitch Density: The Goldilocks Principle
Too few stitches? Your design looks sparse and cheap.
Too many stitches? Your fabric puckers and the design feels stiff and heavy.
Professional embroidery gets the density just right.
What Is Stitch Density?
Stitch density refers to how closely together stitches are placed. It’s measured in stitches per inch or millimeter.
Signs of Poor Density:
Too sparse (under-digitized):
- You can see fabric showing through the design
- Designs look thin and unfinished
- Colors appear washed out
- Unprofessional appearance
Too dense (over-digitized):
- Fabric puckers and pulls
- Designs feel stiff and board-like
- Thread builds up creating lumpy appearance
- Garment becomes uncomfortable to wear
- Increased production problems (thread breaks, needle breaks)
Professional Density:
Experienced digitizers adjust density based on:
- Fabric type (knits need less density than wovens)
- Design elements (text vs. fill areas)
- Thread color (darker threads can be slightly less dense)
- Final use (athletic wear needs less density than corporate polos)
The goal: Complete coverage that looks solid and professional, while keeping the fabric soft and comfortable.
This is an art as much as a science —and it’s one reason experience matters so much in embroidery.
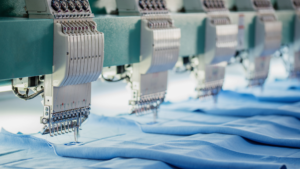
Machine Maintenance and Calibration
Here’s something most customers never think about: the condition of the embroidery machine dramatically affects quality.
Signs of Poor Machine Maintenance:
- Inconsistent stitch tension (some stitches tight, others loose)
- Registration problems (design elements don’t line up properly)
- Frequent thread breaks
- Needle holes larger than necessary
- Uneven stitch formation
- Skipped stitches
Professional Machine Standards:
At Merlin Embroidery, our machines undergo:
- Daily cleaning and inspection
- Regular tension calibration
- Scheduled needle replacement
- Timing adjustments as needed
- Immediate repair of any issues
Well-maintained machines produce consistent, high-quality results every single time.
Poorly maintained machines? They might work fine on simple designs but fall apart on complex work—and you won’t know until it’s too late.
Hooping Technique: The Foundation of Success
Even with perfect digitizing, stabilizer, and thread, poor hooping ruins everything.
What Is Hooping?
Hooping is the process of securing fabric and stabilizer in an embroidery hoop (frame) that attaches to the machine. The fabric must be:
- Perfectly flat without wrinkles
- Properly tensioned (not too tight, not too loose)
- Correctly aligned with the grain of the fabric
- Positioned precisely for design placement
Amateur Hooping Mistakes:
- Too tight: Stretches fabric, causing designs to pucker when released
- Too loose: Fabric shifts during embroidery, creating registration problems
- Wrinkled fabric: Wrinkles get permanently stitched into the design
- Off-grain hooping: Designs appear crooked or distorted
- Poor placement: Designs end up off-center or in wrong locations
Professional Hooping:
Experienced embroiderers develop a feel for proper tension through years of practice. They:
- Hoop fabric drum-tight but not stretched
- Use templates and guides for consistent placement
- Check alignment before starting
- Adjust technique based on fabric type
- Re-hoop if anything looks off
This is one reason we don’t rush production. Taking an extra 30 seconds to hoop correctly saves hours of fixing mistakes later.
Color Matching: Getting Your Brand Colors Right
Your logo has specific brand colors. Your embroidered version should match them—not “sort of” match them.
The Challenge:
Thread colors don’t perfectly match Pantone or CMYK colors. Thread has texture and sheen that affects how colors appear.
Amateur Approach:
“This thread looks close enough.”
Result: Brand colors that are noticeably off, inconsistent from order to order
Professional Approach:
- Thread color libraries: We maintain extensive thread charts showing actual embroidered samples
- Color consultation: We show you actual thread samples and discuss options
- Test stitchouts: For critical brand matching, we create sample embroidery for approval
- Documentation: We record exact thread colors used so reorders match perfectly
- Blending techniques: Sometimes we blend two thread colors to achieve better brand matching
Your brand identity matters. We take color matching seriously because we know you do too.
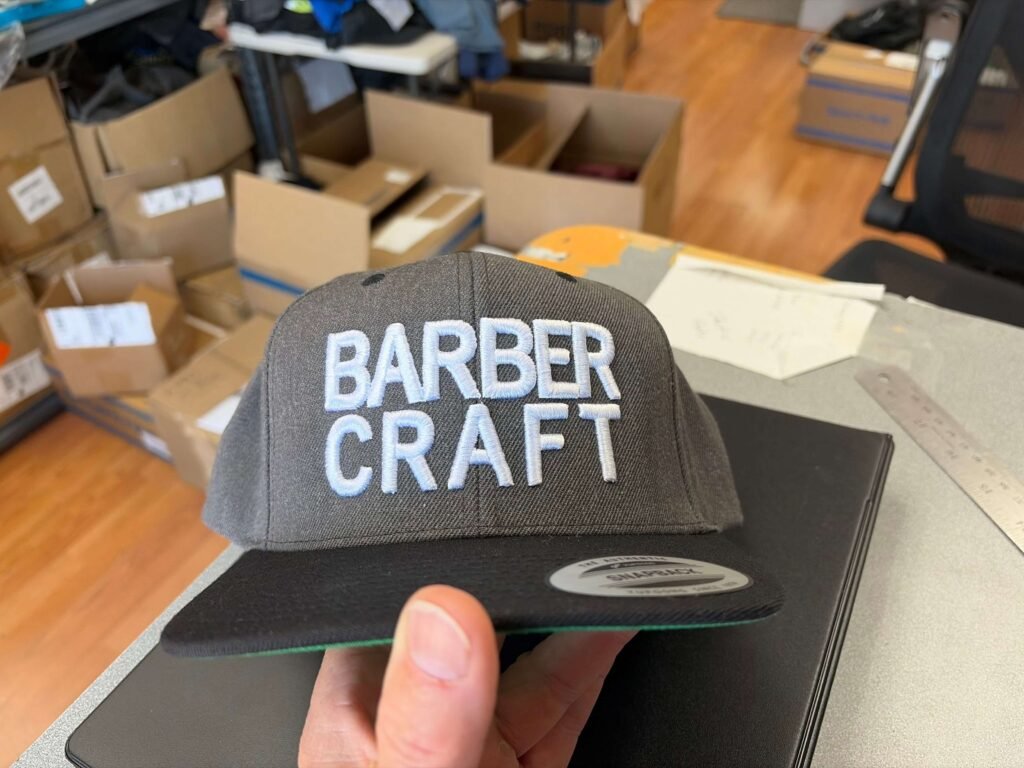
The Details That Separate Good from Great
Professional Finishing:
- Trimming: All jump stitches and thread tails cleanly trimmed
- Backing removal: Excess stabilizer carefully removed without damaging stitches
- Pressing: Designs lightly pressed to remove hoop marks
- Quality inspection: Every piece checked before packaging
- Consistent placement: All items in an order have identical positioning
Amateur Shortcuts:
- Visible thread tails hanging from designs
- Stabilizer showing around edges
- Hoop marks still visible on fabric
- Inconsistent placement from item to item
- No quality control inspection
These finishing details take time—but they’re what make embroidery look truly professional.
How to Evaluate Embroidery Quality Before You Buy
When shopping for embroidery services, ask to see:
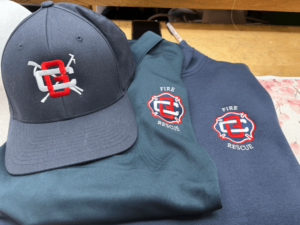
1. Physical samples of their work
- Look at actual embroidered items, not just photos
- Check the back of the embroidery (should be neat, not messy)
- Feel the fabric (should be soft, not stiff or puckered)
2. Examples similar to your project
- If you want polo shirts, see embroidered polos
- If you want hats, see embroidered hats
- Different items require different techniques
3. Their digitizing process
- Do they digitize in-house or outsource?
- Do they use auto-digitizing or custom digitizing?
- Can they show before/after examples?
4. Thread and material quality
- What brand of thread do they use?
- What stabilizer options do they offer?
- Do they explain why they choose specific materials?
5. Their quality control process
- Does every item get inspected?
- What happens if there’s a problem?
- Do they guarantee their work?
If they can’t or won’t answer these questions, that tells you something important.
Red Flags: When to Walk Away
- “We can do it cheaper than anyone else” Quality embroidery has real costs. Unrealistically low prices mean corners are being cut.
- “We use the same process for everything” Different projects need different approaches. One-size-fits-all doesn’t work.
- “We can’t show you samples” If they won’t show their work, there’s probably a reason.
- “The digitizing fee seems high, but we can waive it” Proper digitizing takes skill and time. Free digitizing usually means auto-digitizing—which produces poor results.
- “We don’t need to see your actual items” Fabric type matters enormously. Professionals want to see what they’re working with.
- Unwilling to do a test sample For important projects, test samples are standard practice.
The True Cost of Cheap Embroidery
Let’s do the math on a real scenario:
Option A: Budget Embroidery Service
- 24 polo shirts at $25 each = $600
- Poor quality digitizing
- Cheap thread that fades
- Designs pucker and look unprofessional
- Employees don’t want to wear them
- You’re embarrassed by the results
- Real cost: $600 wasted + damage to your professional image
Option B: Professional Embroidery
- 24 polo shirts at $32 each = $768
- Expert digitizing
- Premium thread and materials
- Perfect execution
- Employees wear them with pride
- Customers compliment your professional appearance
- Real cost: $768 invested in your brand image
The $168 difference seems significant until you consider: The cheap option delivered zero value, while the professional option enhanced your brand for years.
Quality embroidery isn’t an expense—it’s an investment in how people perceive your business.
What Professional Embroidery Should Cost
To help you evaluate quotes, here are realistic price ranges for quality work:
Left-chest logo embroidery:
- Simple text/logo: $8-12 per item
- Medium complexity logo: $12-18 per item
- Complex/large logo: $18-25 per item
Digitizing fees:
- Simple designs: $25-50
- Medium complexity: $50-100
- Complex designs: $100-200+
Remember: Digitizing is one-time. Once your design is digitized, you only pay the per-item embroidery cost for future orders.
If quotes are significantly below these ranges, ask why. There’s usually a quality compromise somewhere.
Our Quality Promise
At Merlin Embroidery, quality isn’t negotiable. Every project gets:
- Custom digitizing by experienced professionals
- Premium thread and materials selected for your specific project
- Proper stabilization based on fabric type
- Expert hooping and production by trained embroiderers
- Individual quality inspection of every single item
- Professional finishing with attention to detail
- Satisfaction guarantee because we stand behind our work
We’ve been doing this for over 30 years because we refuse to compromise on quality.
See the Difference for Yourself
The best way to understand embroidery quality is to see it in person.
Come visit us at our La Mesa location. We’ll show you:
- Examples of different quality levels
- How digitizing affects final results
- The materials and processes we use
- Why certain techniques work better for different projects
Or send us your design for a consultation. We’ll give you honest feedback about:
- Whether your design will embroider well
- What adjustments might improve results
- Realistic pricing for quality work
- Timeline and process
No pressure, no sales pitch—just honest expertise to help you make the best decision.
Ready for Embroidery That Makes You Proud?
You deserve embroidery that makes your team look professional, your brand look established, and your investment worthwhile.
Let’s create something you’ll be proud to wear and share.
Call us at: 619-884-9712
Email: merlinemb@gmail.com
Visit us at 8240 Parkway Dr UNIT 104, La Mesa, CA 91942