How To Choose The Right Embroidery Style For Different Fabric Types
Have you ever stared at a beautiful piece of fabric and wondered what embroidery style would bring it to life? Embroidery isn’t a one-size-fits-all art. The type of fabric you’re working with can significantly influence the result of your embroidery efforts. Whether you’re stitching on delicate silk or sturdy denim, picking the right embroidery style is key to achieving a stunning final product.
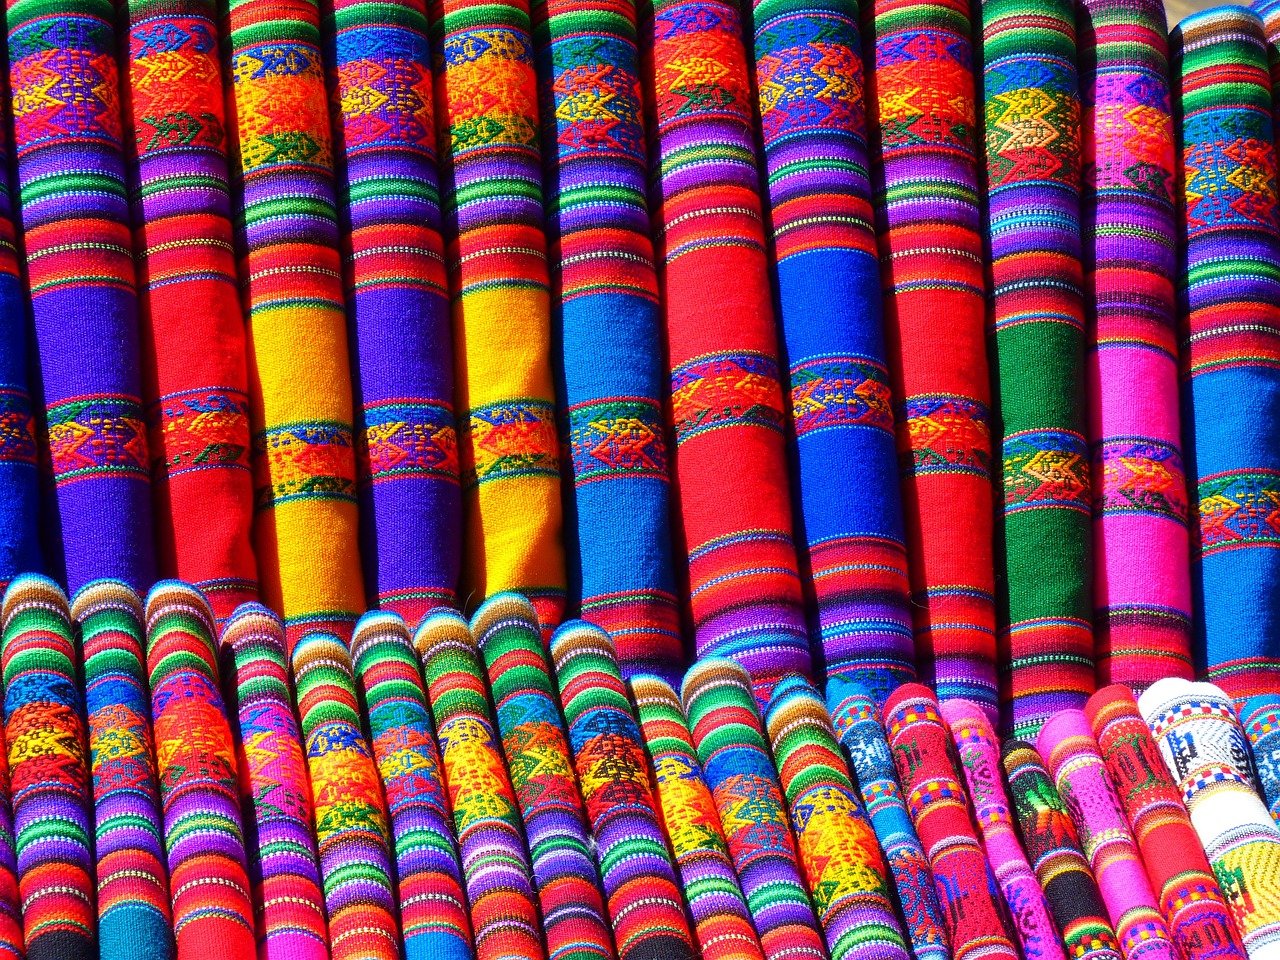
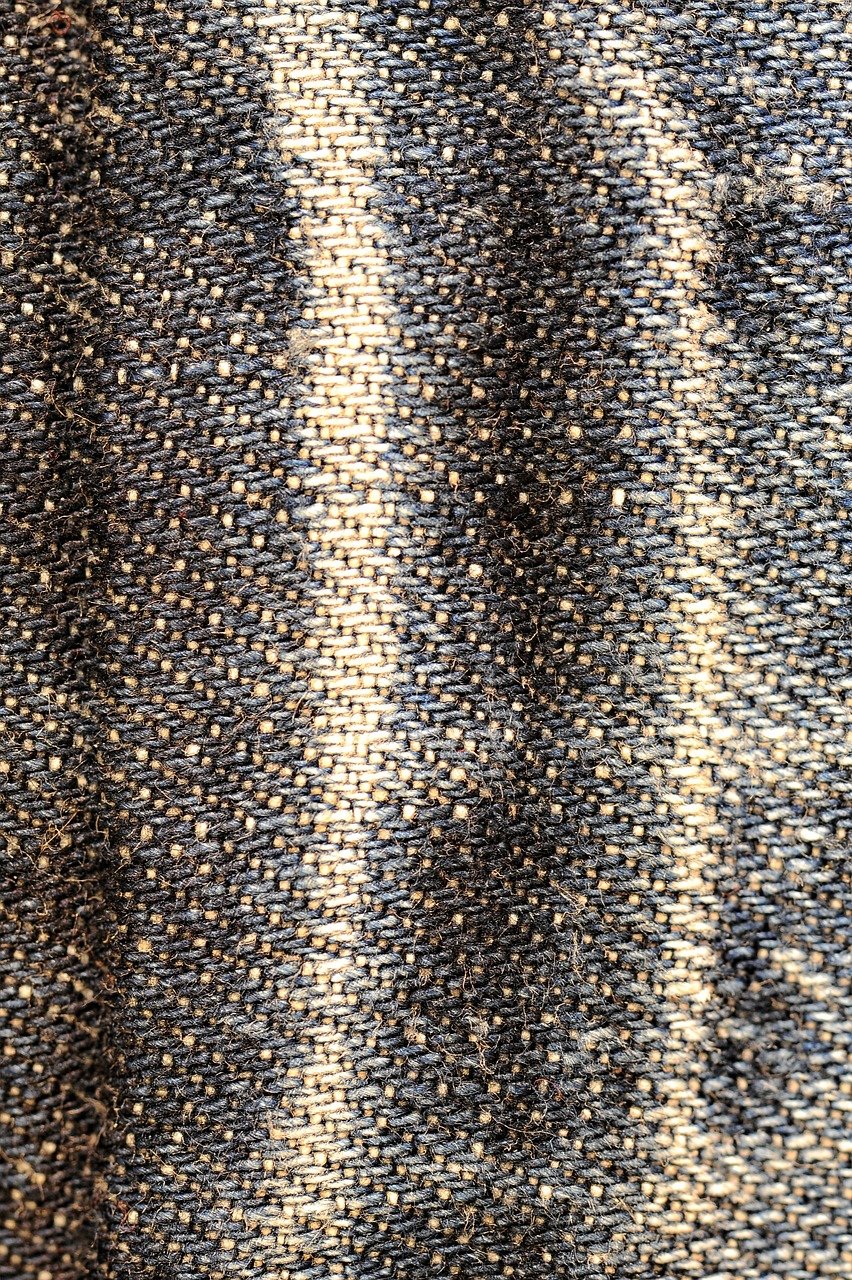
This image is property of pixabay.com.
Understanding Fabric Types
Before diving into specific embroidery styles, it’s crucial to understand the different types of fabric you might encounter. Fabrics come in a myriad of textures, weights, and compositions, each presenting unique challenges and opportunities for embroidery.
Natural Fabrics
Natural fabrics are derived from plants and animals. Examples include cotton, silk, linen, and wool. These fabrics often breathe well and may have a natural texture that can either aid or complicate the embroidery process.
Synthetic Fabrics
Made from chemical compounds, synthetic fabrics such as polyester, nylon, and acrylic are known for their durability and resistance to shrinking and wrinkling. However, their smooth texture can sometimes be tricky to work with.
Blended Fabrics
These are combinations of natural and synthetic fibers, aiming to merge the best qualities of both. Blends can offer unique textures and qualities, which can either be a canvas for embroidery brilliance or occasionally present a challenge.
Matching Embroidery Styles with Fabric Types
Each fabric type benefits from specific embroidery styles that highlight its best features and compensate for its weaknesses. Let’s break it down fabric by fabric.
Cotton
Cotton is versatile, durable, and relatively easy to work with, making it a popular choice for many embroidery projects. It can handle a range of embroidery styles from the simple to the complex.
Best Embroidery Styles for Cotton:
- Cross-Stitch: The weave of cotton fabric often makes it ideal for the grid-like pattern of cross-stitch.
- Satin Stitch: This style works well on cotton, creating a smooth, satiny surface.
- Applique: The strength of cotton fabric can support the additional layering that applique requires.
Silk
Silk is luxurious and smooth, but also delicate. It requires careful handling and specific types of embroidery that do not pull or distort the fabric too much.
Best Embroidery Styles for Silk:
- Shadow Work: This creates a subtle, delicate effect that is perfect for the light, airy nature of silk.
- French Knots: These add texture without overly stressing the fabric.
- Running Stitch: Simple yet effective, the running stitch preserves the integrity of silk.
Linen
Linen has a crisp texture and is durable yet breathable. It can hold a variety of stitches well but might be challenging due to its tendency to wrinkle.
Best Embroidery Styles for Linen:
- Blackwork: The geometric patterns of blackwork can be highlighted beautifully on the natural texture of linen.
- Pulled Thread Work: Linen’s strength makes it suitable for this style, which involves pulling threads to create intricate designs.
- Stem Stitch: This stitch can navigate the natural weave of linen effectively.
Wool
Wool is thick and warm, making it a good background for bold and textured embroidery.
Best Embroidery Styles for Wool:
- Crewel Work: This traditional style often uses wool yarn and blends well with wool fabric.
- Chain Stitch: It adds a lot of texture and is suitable for heavier fabrics like wool.
- Tapestry Work: The robustness of wool fabric can support the weight of tapestry stitches.
Polyester
Polyester is strong but can be slippery, making it a bit tricky for embroidery. It’s essential to choose styles that anchor well into the fabric.
Best Embroidery Styles for Polyester:
- Machine Embroidery: The precision of a machine can handle the slippery surface of polyester better than hand stitching.
- Monogramming: Simple, clean lines work well on polyester.
- Large Stitches: Larger, more spaced-out stitches can prevent puckering on polyester.
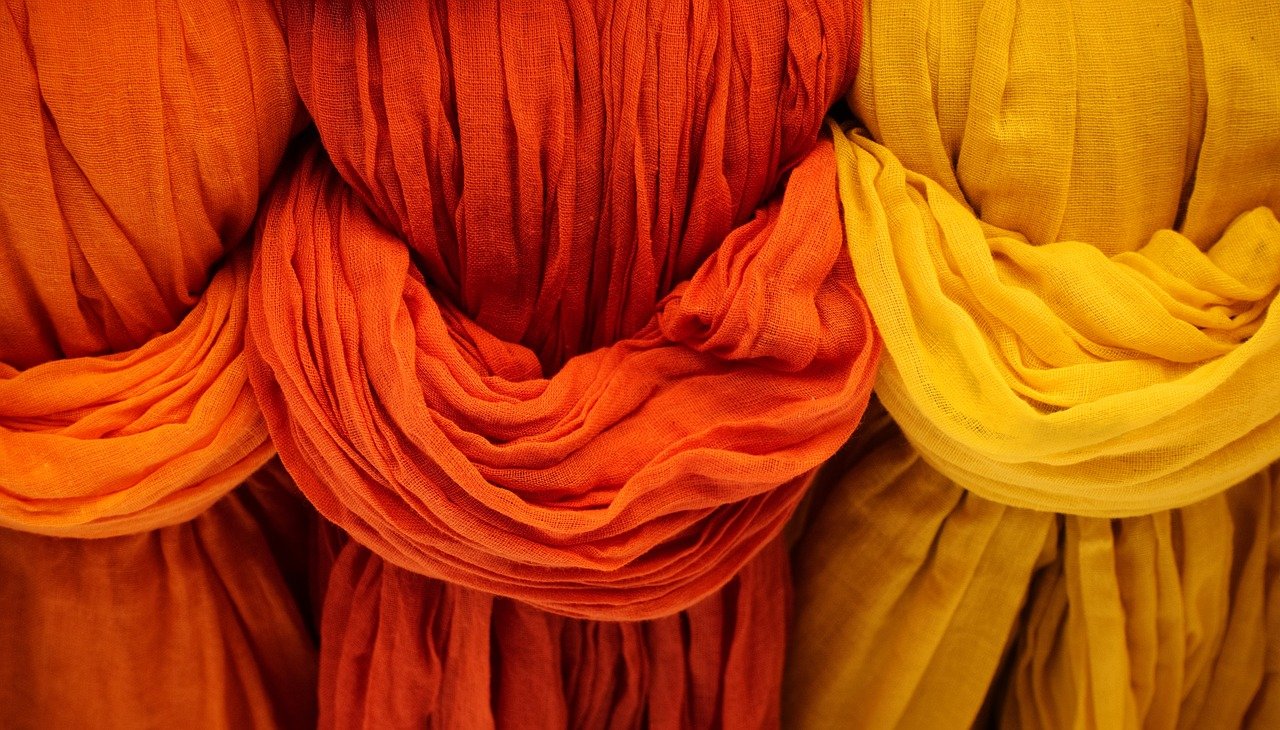
This image is property of pixabay.com.
Tools and Materials for Different Fabrics
Picking the right embroidery style is only part of the equation. The tools and materials you use also play a critical role in the success of your project.
Needles
Different fabric types may require varying needle sizes and types:
| Fabric Type | Recommended Needle |
|---|---|
| Cotton | Embroidery needle size 7-10 |
| Silk | Milliner needle size 9-11 |
| Linen | Crewel needle size 5-8 |
| Wool | Tapestry needle size 12-18 |
| Polyester | Ballpoint needle size 9-14 |
Threads
Your thread choice can make or break your embroidery project:
- Cotton Thread: Ideal for natural fabrics like cotton and linen.
- Silk Thread: Best for delicate fabrics like silk.
- Woolen Thread: Works well for thick fabrics like wool.
- Polyester Thread: Suitable for synthetic and blended fabrics.
Hoops and Frames
Maintaining fabric tension is crucial for clean, even stitches:
- Wooden Hoops: Great for cotton and linen.
- Plastic Hoops: Work well with synthetic fabrics.
- Embroidery Frames: Ideal for larger projects on heavy fabrics like wool.
Stabilizing Fabrics
Certain fabrics, especially stretchy or very delicate ones, require stabilization to hold the embroidery stitches in place. Here are some tips:
Stabilizers for Synthetic Fabrics
Synthetic fabrics like polyester can be slippery. Using a stabilizer can prevent distortion:
- Cut-Away Stabilizer: Provides permanent support, making it ideal for synthetic materials.
- Tear-Away Stabilizer: Suitable for lightweight projects that don’t need permanent support.
Stabilizers for Delicate Fabrics
Thin and delicate fabrics like silk need meticulous care:
- Water-Soluble Stabilizer: Dissolves after the embroidery is done, making it perfect for sheer fabrics.
- Tear-Away Stabilizer: Offers temporary support and can be easily removed without damaging the fabric.
Stabilizers for Heavy Fabrics
Heavy fabrics like wool might not always require stabilizers, but for detailed work, a little support can go a long way:
- Cut-Away Stabilizer: Offers robust support for intricate designs.
- Fusible Stabilizer: Can be ironed on to provide additional firmness.
This image is property of pixabay.com.
Troubleshooting Common Issues
No matter how prepared you are, encountering issues with your embroidery project is almost inevitable. Here’s how to troubleshoot some common problems:
Puckering
Puckering happens when fabric gathers or wrinkles around the stitches. To avoid this:
- Use the right stabilizer.
- Ensure your fabric is taut in the hoop.
- Use threads and needles appropriate for the fabric type.
Tension Problems
If your stitches are too tight or too loose, your fabric could get distorted:
- Adjust the tension settings on your embroidery machine or practice consistent hand tension.
- Choose the correct needle and thread for your fabric type.
Fabric Damage
Delicate fabrics are particularly prone to damage:
- Use appropriate needles to minimize holes.
- Consider using a thinner thread.
- Work gently, especially with hand embroidery techniques.
Combining Fabrics and Styles
Mixing different fabrics and embroidery styles can result in unique and impressive pieces. However, balancing the weights and textures is key. Here are some tips:
Layering Different Fabrics
Combining fabrics like cotton and lace can add depth to your project.
- Cotton and Lace: Use cross-stitch on the cotton base and a running stitch to attach lace overlays.
- Denim and Silk: Denim can serve as a solid base for more intricate silk embroidery. Be sure to stabilize both fabrics.
Blending Styles and Techniques
Sometimes, combining different embroidery styles within a single project can produce stunning results:
- Combining Applique and Cross-Stitch: Applique can add significant layers and texture, while cross-stitch can fill in the details.
- Mixing Machine and Hand Embroidery: Machine embroidery can lay a foundation that you can finish off with detailed hand stitches for a truly custom look.
Practical Tips for Beginners
Starting your embroidery journey can be overwhelming, but here are some quick tips to help you get started:
Start Small
Begin with a small project to get the hang of how different fabrics react to stitches. Simple patterns on cotton can be an excellent starting point.
Use Practice Fabrics
Before embroidering on your final fabric, practice your stitches on scrap pieces to understand the behavior of the fabric under your needle.
Learn Tension Control
Proper tension is critical for good embroidery. If using a machine, invest time in understanding its tension settings. For hand embroidery, practice creating even, consistent stitches.
Secure Your Work
Make sure your fabric is tight in the hoop or frame. This will help prevent puckering and uneven stitches.
Patience is Key
Embroidery is a meticulous art form. Take your time to ensure each stitch is placed perfectly, especially when working with delicate or tricky fabrics.
Advanced Techniques and Tips
Once you’ve got the basics down, you might want to explore more advanced techniques to elevate your embroidery game.
Layering Stitches
Layering different stitches can add depth and dimension to your project. For example, you can combine a satin stitch base with chain stitch outlines to create a 3D effect.
Using Metallic Threads
Metallic threads can add a touch of glamour to your work but can be tricky to handle. Use short lengths of thread and a larger needle to prevent fraying and breakage.
Embroidering on Stretchy Materials
Stretchy fabrics like t-shirt material require special attention. Use a stabilizer and avoid overly tight stitches to prevent distortion.
Example:
| Stretchy Fabric Type | Recommended Stabilizer | Best Embroidery Styles |
|---|---|---|
| T-shirt material | Cut-Away Stabilizer | Simple running stitches, monograms |
| Lycra | Tear-Away Stabilizer | Zigzag stitches, applique |
| Knitwear | Water-Soluble Stabilizer | Chain stitch, couching |
Embroidery Software
Use embroidery software to create complex patterns and see digital previews before committing them to fabric. This can save you a lot of trial and error, especially on expensive materials.
Understanding Embroidery Density
High-density embroidery can add weight and stiffness to your fabric, which may not be desirable for all projects. Experiment with stitch density settings in your machine or adjust your hand stitching accordingly.
Caring for Embroidered Fabrics
Correct care can significantly prolong the life of your embroidered items. Here are some general tips:
Washing
Wash embroidered fabrics in cold water to prevent colors from running. For delicate items, consider hand washing.
Drying
Avoid wringing out embroidered fabrics. Lay them flat to dry to preserve the shape and stitching.
Ironing
Iron on the reverse side of the fabric to avoid damaging the stitches. Use a pressing cloth for added protection.
Storing
Store in a cool, dry place, preferably folded or rolled with acid-free tissue paper to prevent wrinkles and creases.
Conclusion
Choosing the right embroidery style for different fabric types is part art and part science. By understanding the characteristics of each fabric and matching them with compatible embroidery styles, tools, and techniques, you can ensure your projects turn out beautifully. Whether you’re a beginner just starting or an advanced embroiderer looking to expand your skills, these guidelines can serve as a valuable reference for your embroidery journey. So, next time you pick up that piece of fabric, you’ll know exactly how to make it shine.

